Overview
In this guide, you can learn how to create a Drupal content management system (CMS) that uses MongoDB as its database. Drupal is an open-source web CMS written in PHP that provides content authoring, composability, and authentication features.
Why Use MongoDB as the Database for Drupal Sites?
Websites that provide personalized user experiences require robust capabilities for user authentication. Sites that have many authenticated users can experience performance issues when retrieving entity data from multiple tables in a relational database. MongoDB eliminates the need for complicated table joins and increases data retrieval speed for features such as personalized dashboards and dynamic content feeds.
When you use MongoDB as your site's database, Drupal stores entities as JSON documents that include all revisions, translations, and field data. This flexible data structure decreases latency and supports personalized, data-driven experiences for users.
MongoDB offers the following features that improve your Drupal sites:
Horizontal scaling: Distribute loads across multiple servers, making your database scalable for large user bases.
Integrated file storage: Store user files directly in the database instead of on the web server, simplifying hosting.
Full-text search: Avoid implementing separate search solutions by leveraging the MongoDB Search feature.
AI capabilities: Perform vector searches and integrate AI services by using the MongoDB Vector Search feature.
Quick Start Tutorial
In this tutorial, you build a Drupal CMS that uses MongoDB to store your Drupal site's data. You create a locally hosted Drupal site, add an article to the site, and view the article's data in MongoDB.
Tip
This tutorial uses a local MongoDB replica set and a locally hosted site. To view a similar tutorial that uses a MongoDB Atlas M10 cluster and an AWS EC2 server, see the How to Run Drupal on MongoDB DEV article.
Set Up Your Project
Follow the steps in this section to install the project dependencies, deploy a MongoDB replica set, and set up Drupal.
Verify the prerequisites.
To create the Quick Start application, install the following software in your development environment:
Prerequisite | Notes |
|---|---|
This is a PHP dependency management tool. | |
Follow the instructions that correspond to your operating system. | |
Install MongoDB locally to run a replica set. | |
Install | |
This tutorial uses the MongoDB Shell ( | |
Use version 8.3 or later. | |
Terminal app and shell | For MacOS users, use Terminal or a similar app. For Windows users, use PowerShell or Command Prompt. |
Start a MongoDB replica set.
To use MongoDB with Drupal, you must run a MongoDB replica set. Perform the following steps to prepare and start a local three-node replica set:
Increase your
ulimitvalue to resolve system resource limitations.Drupal creates multiple files and indexes in a short period of time. From your terminal, run the following command to set the
ulimitto64000, which prevents your replica set from crashing:ulimit -n 64000 Deploy your replica set.
After increasing your
ulimit, follow the instructions in the Deploy a Self-Managed Replica Set for Testing and Development tutorial to deploy and initialize a replica set. Ensure that your replica set is namedrs0and has three members running on ports27017,27018, and27019.
Create a database user.
Tip
Use the PHP Driver
If you prefer to create a database user by using the MongoDB PHP Driver
instead of mongosh, pass the createUser command to the MongoDB\Database::command() method.
To learn more, see Run a Database Command
in the driver documentation.
Create a user with the necessary permissions for the Drupal database by performing the following steps.
Run the following command from your terminal to connect to your replica set in
mongosh:mongosh "mongodb://localhost:27017,localhost:27018,localhost:27019/?replicaSet=rs0" In the
mongoshshell, run the following command to enter theadmindatabase:use admin Then, run the following command from your shell to create a user:
db.createUser({ user: "<database username>", pwd: "<database user password>", roles: [ { role: "readWrite", db: "drupal" }, { role: "dbAdmin", db: "drupal" } ] }) Replace
<database username>and<database user password>with your preferred credentials. Save these values for use in future steps.
Install Drupal.
From a new terminal window, run the following commands to create a Drupal project
named drupal-quickstart:
composer create-project drupal/recommended-project:11.1.5 drupal-quickstart cd drupal-quickstart
Then, install the MongoDB module by running the following command:
composer require drupal/mongodb:^3.1
Configure the MongoDB Integration
After installing Drupal, follow the steps in this section to allow your application to work with MongoDB.
Create the settings file.
From your drupal-quickstart directory, navigate to the web/sites/default
subdirectory and run the following commands:
cd web/sites/default cp default.settings.php settings.php chmod 777 settings.php cd ../../..
These commands copy the default settings file into a new file named
settings.php and update this file's permissions to allow Drupal
to write new content.
Configure file permissions.
To allow Drupal to modify your public files, create the files directory
and set its permissions by running the following commands from your
drupal-quickstart directory:
mkdir -p web/sites/default/files chmod -R 777 web/sites/default/files
Then, specify the location of these files by verifying that your
web/sites/default/settings.php file contains the following value:
$settings['file_public_path'] = 'sites/default/files';
Tip
If the preceding value is commented out in settings.php, uncomment it.
Configure Your Drupal Site
Follow the steps in this section to complete the Drupal installation by using the Drupal configuration wizard.
Complete the web installation.
Open http://localhost:8080 in your web browser to launch the Drupal installation wizard. Then, configure your project by selecting the following responses.
Tip
If your site displays an error message about the deprecated non-canonical
(boolean) cast, locate the following line in your project's
DocParser.php file:
$this->ignoreNotImportedAnnotations = (boolean) $bool;
Replace this line with the following code:
$this->ignoreNotImportedAnnotations = (bool) $bool;
On the Choose language page, select English and click Save and continue.
On the Choose profile page, keep Standard selected and click Save and continue.
On the Set up database page, select MongoDB as the database type and provide the following information:
Database name:
drupalDatabase username: The database username that you configured with the
createUsercommand in a previous stepDatabase password: The database password that you configured with the
createUsercommand in a previous stepSRV connection format: Leave unchecked
Database replica set:
rs0Host #1:
localhost, port27017Host #2:
localhost, port27018Host #3:
localhost, port27019
Click Save and continue.
Drupal installs the required modules. This might take several minutes.
On the Configure site page, provide the following information:
Site name: Enter
Drupal on MongoDB.Site email address: Enter any email address. You can use a non-existent address.
Username: Choose an admin username.
Password: Choose a strong password.
Receive email notifications: Uncheck this box.
Click Save and continue.
Create and View Content
After completing the installation, follow the steps in this section to create content and store its data in MongoDB.
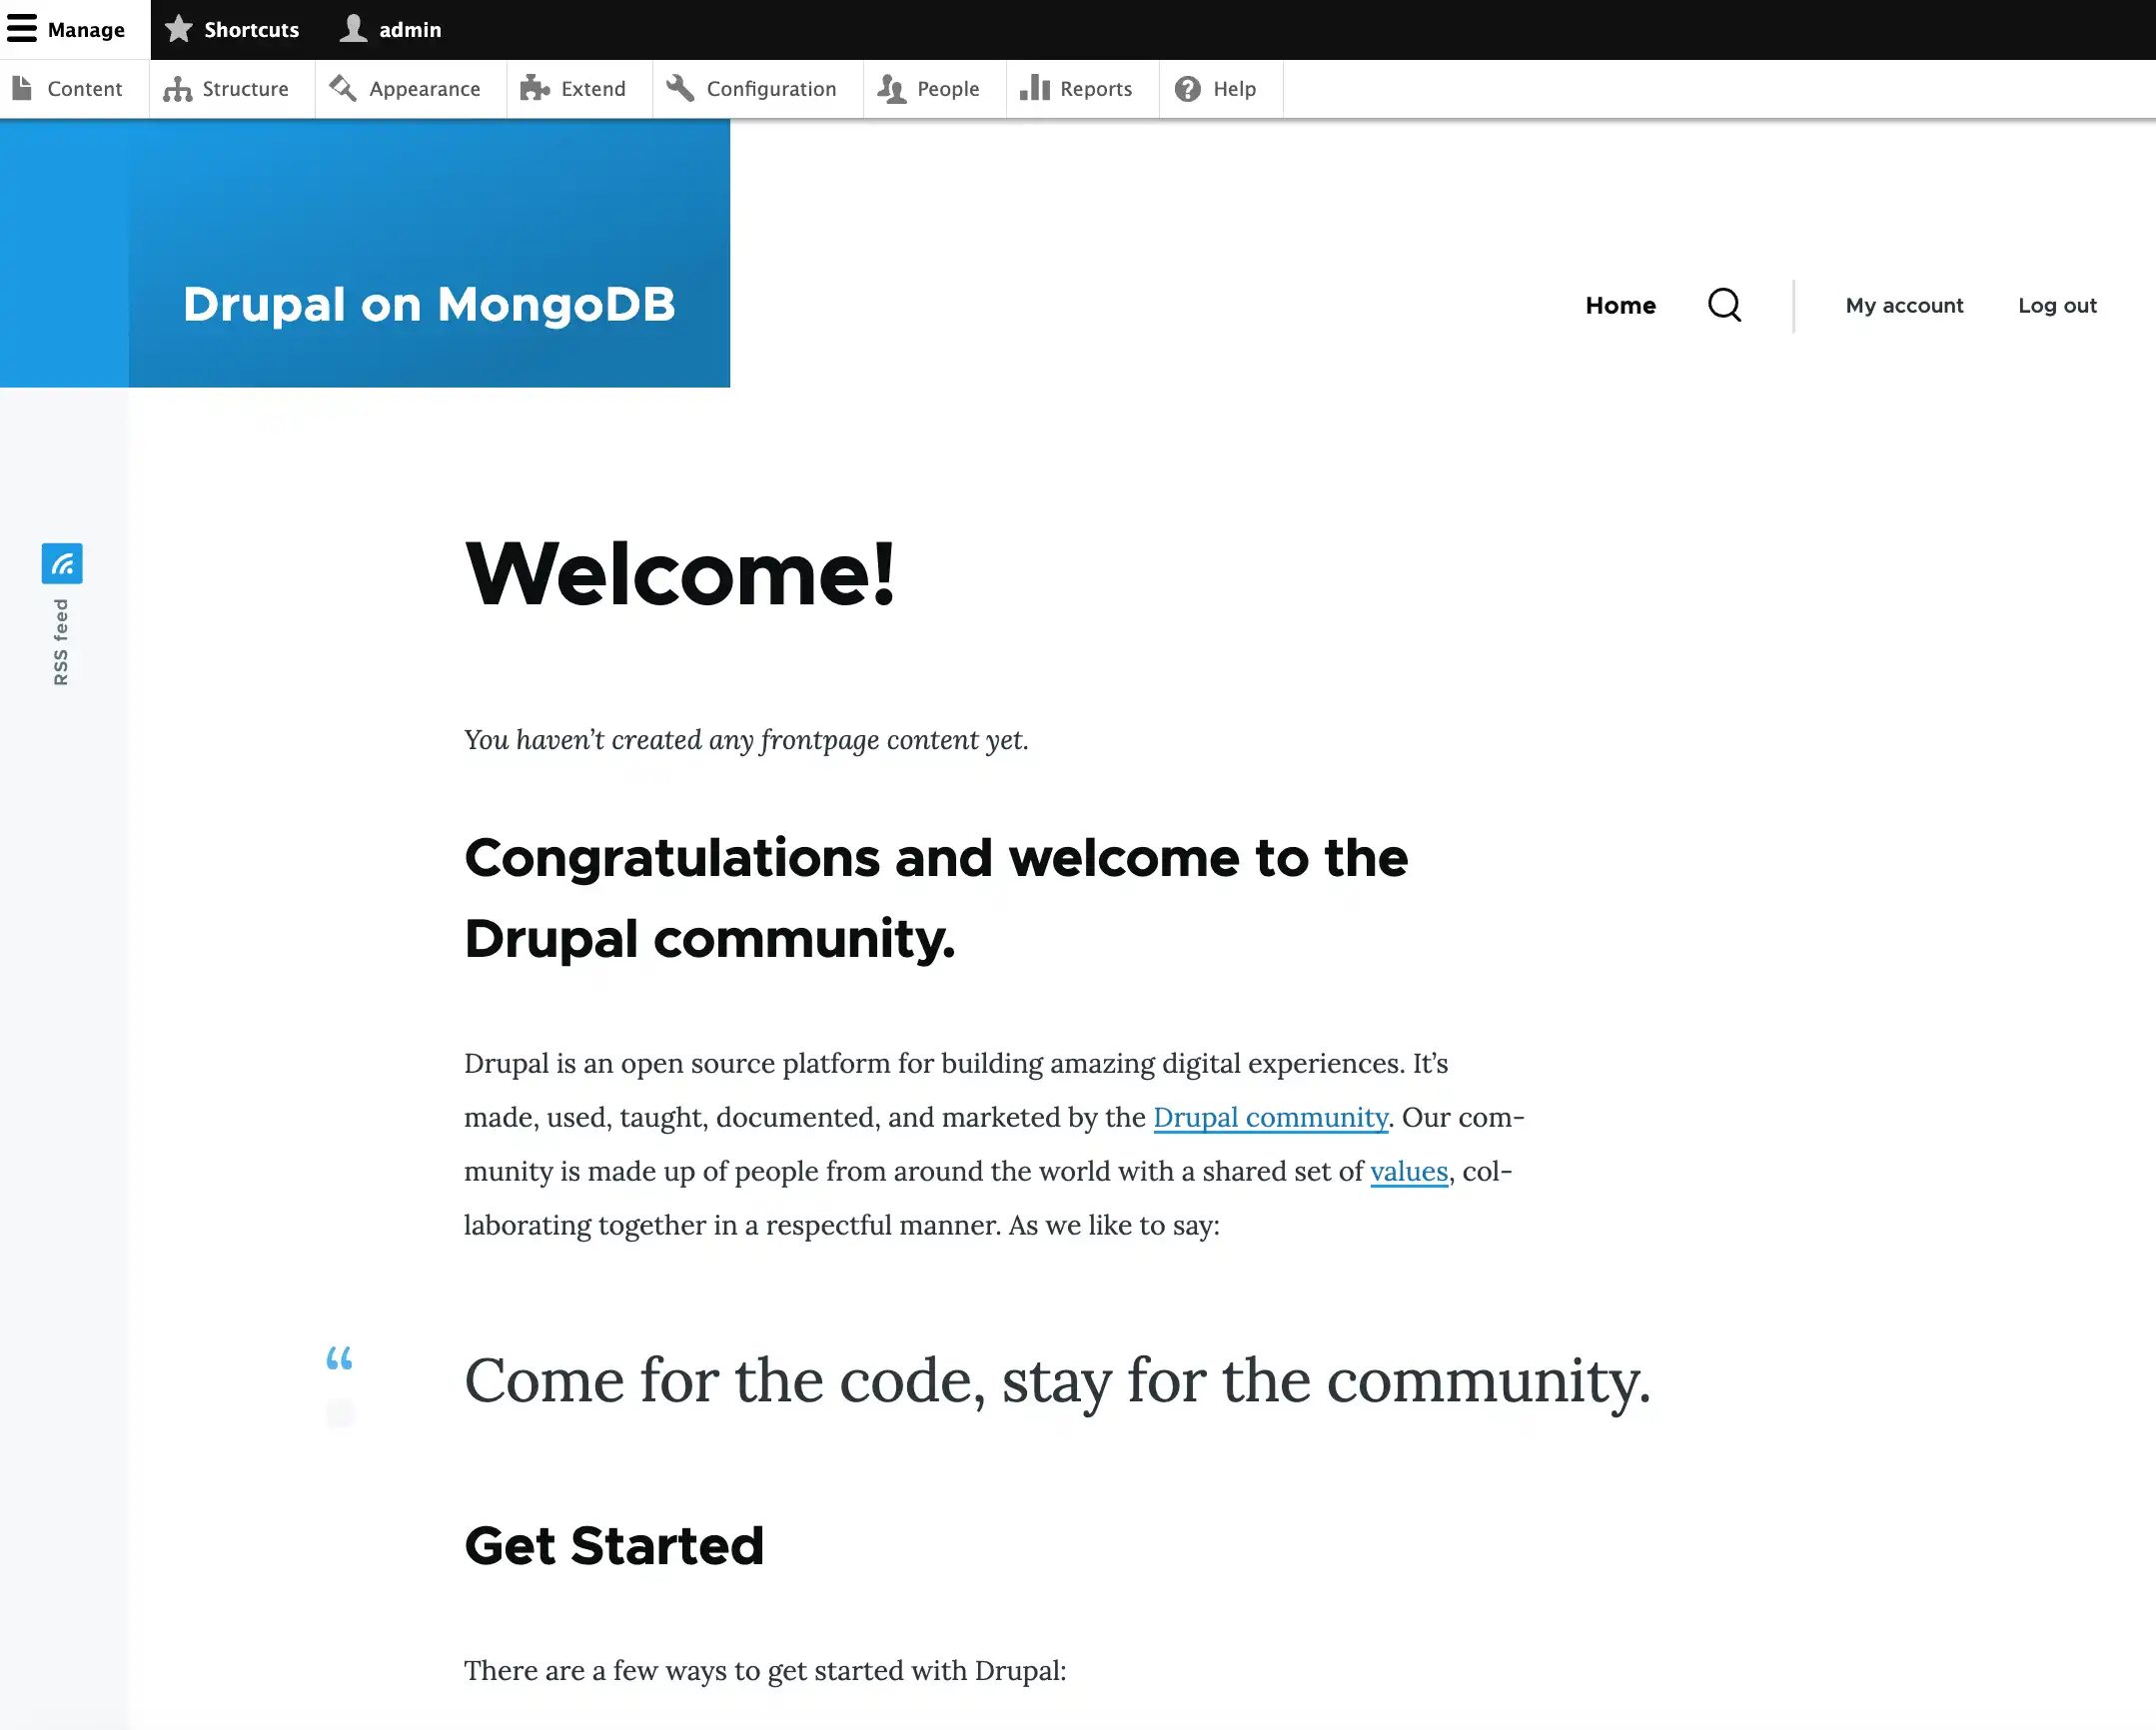
View your Drupal home page.
After installation completes, your site redirects to the Drupal home page. Your site resembles the following image:

Tip
Site Styling
If your Drupal site displays plain HTML without any styling, you might have to disable CSS and JavaScript aggregation. To disable aggregation, visit http://localhost:8080/admin/config/development/performance in your browser and uncheck the Aggregate CSS files and Aggregate JavaScript files boxes.
Create an article.
On the Create Article page, perform the following actions:
In the Title section, enter
"Welcome to My Drupal Site".In the Body section, enter the following text:
This is my first article on Drupal with MongoDB! All content is stored as JSON documents in MongoDB. Select Menu settings and check the Provide a menu link box.
Click Save.

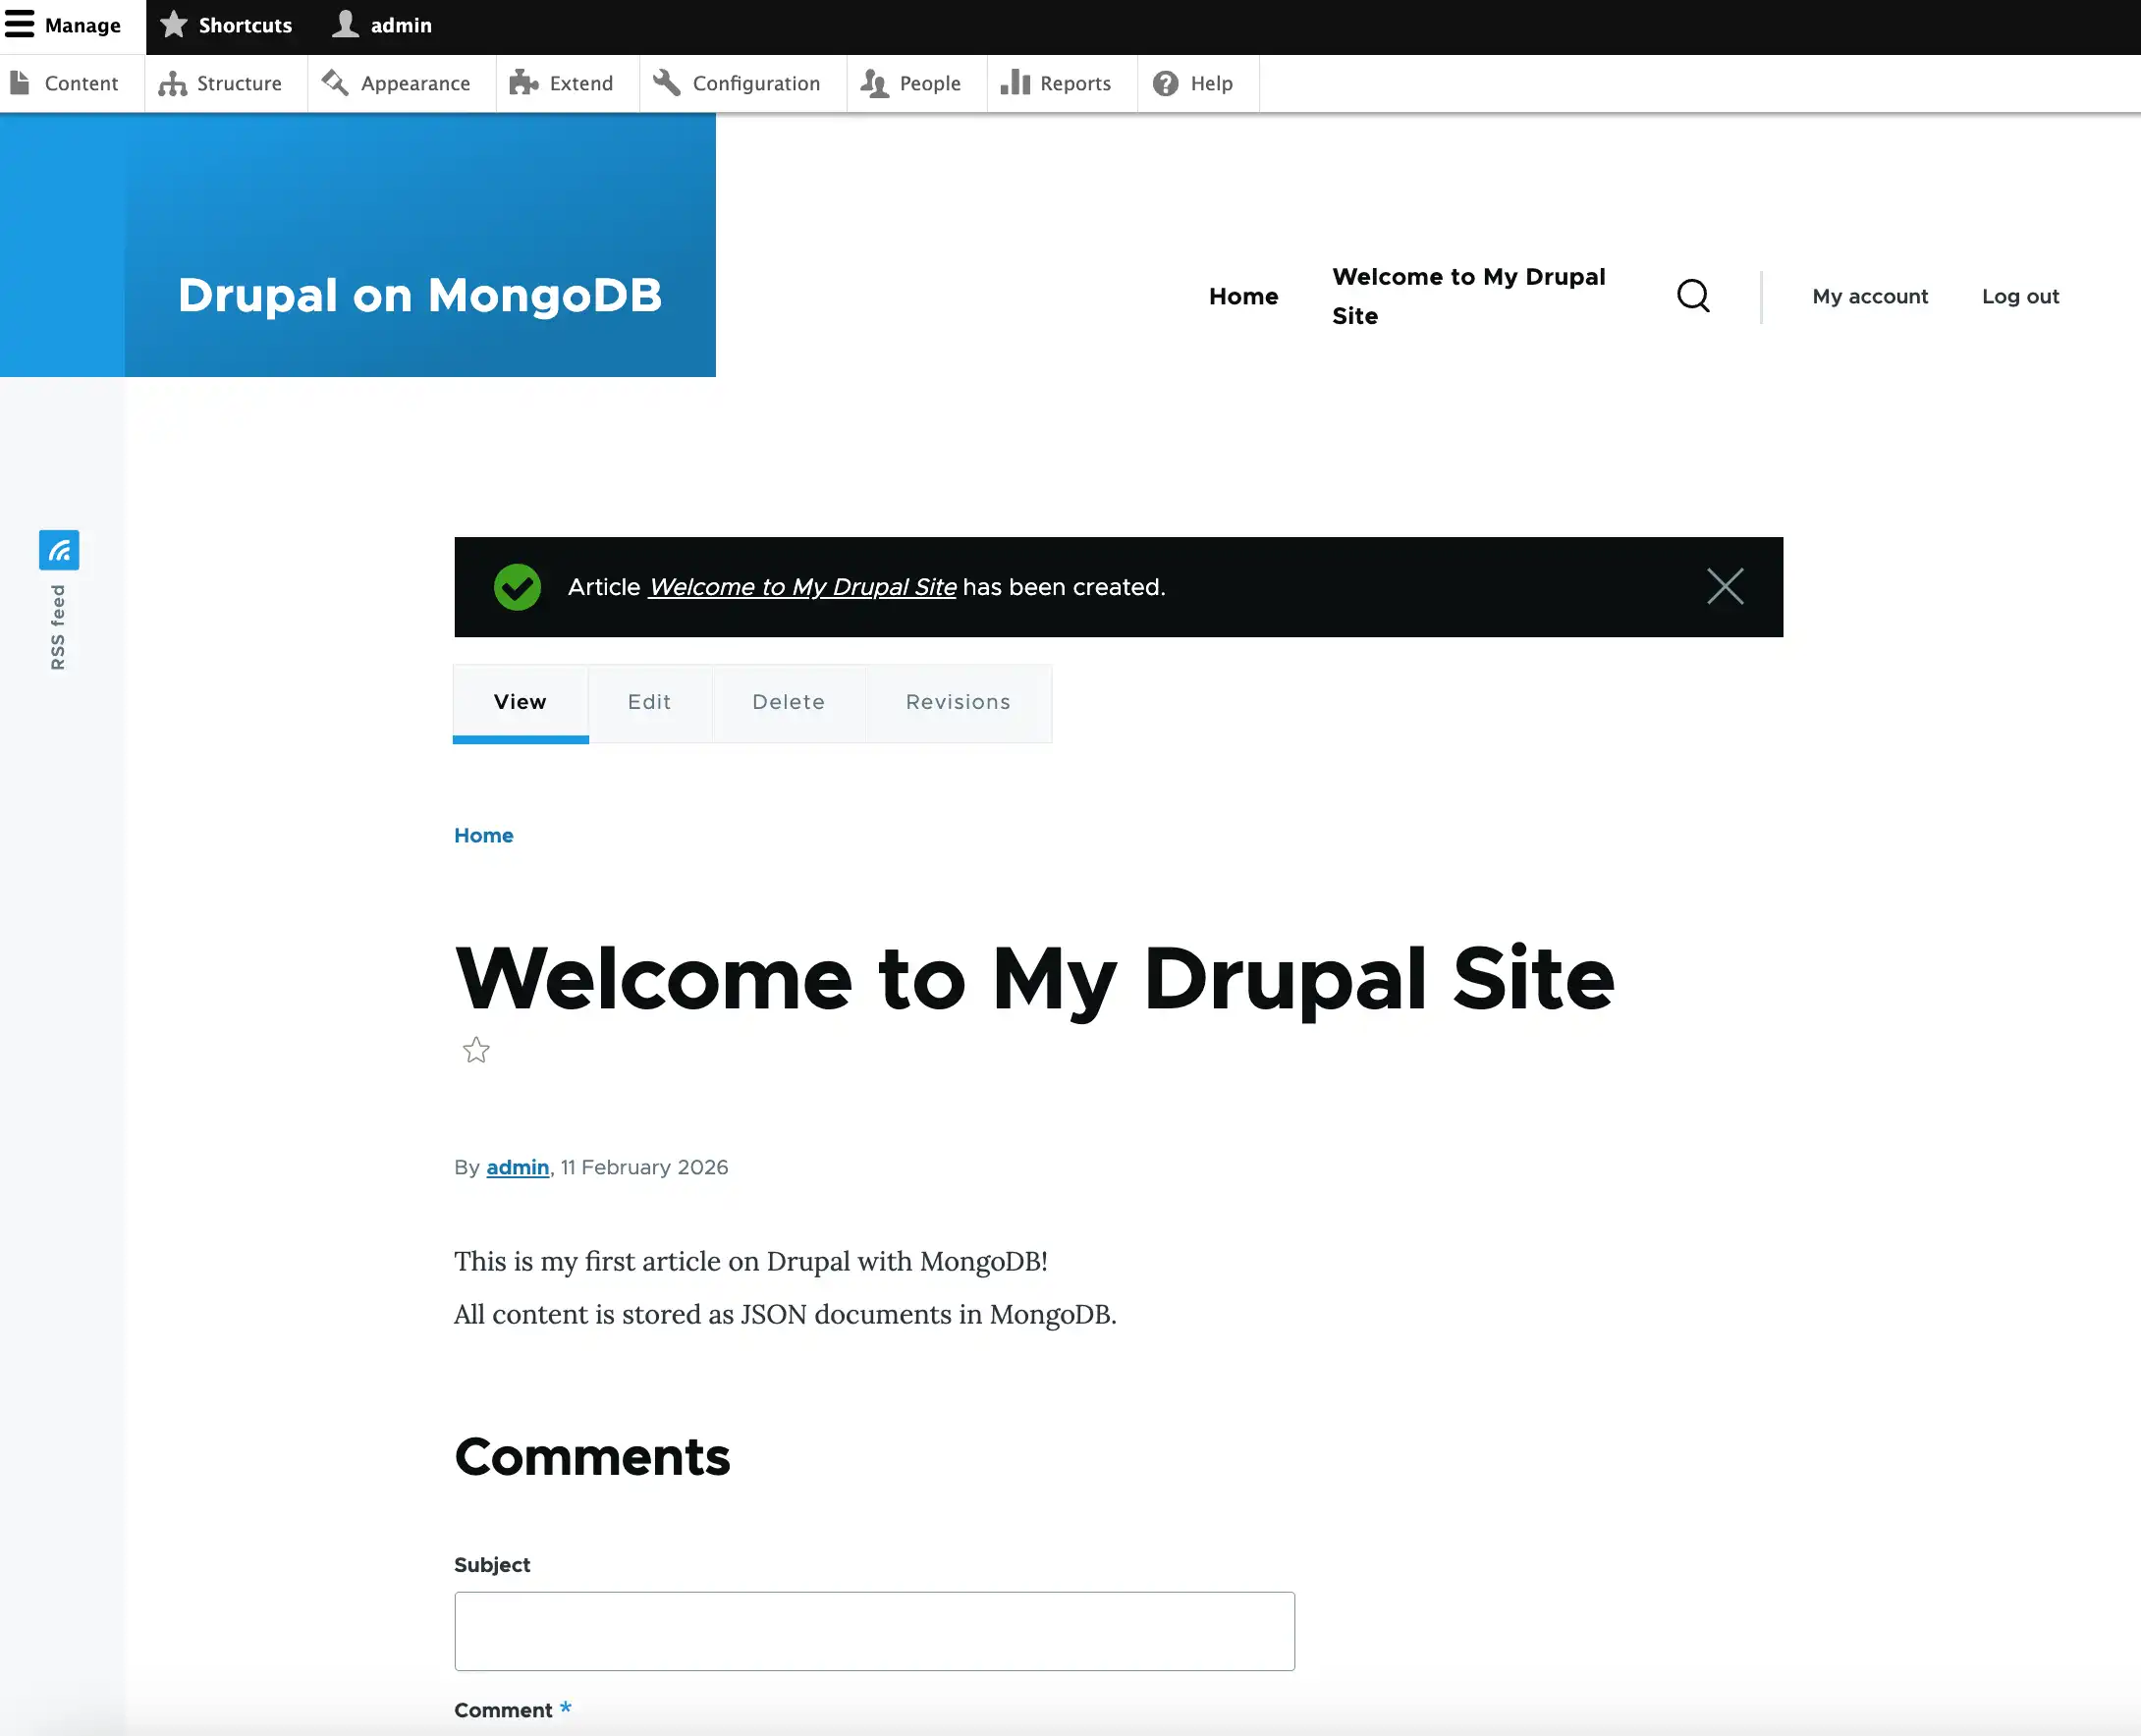
View your data in MongoDB.
Tip
Use the PHP Driver
If you prefer to view collections and content data by
using the PHP driver instead of mongosh, use the MongoDB\Database::listCollections()
and MongoDB\Collection::find() methods. To learn more, see
the following PHP driver documentation:
To verify that your content is stored in MongoDB, perform the following steps:
Open a new terminal window and connect to your MongoDB replica set in
mongosh.Run the following command from your terminal:
mongosh "mongodb://localhost:27017,localhost:27018,localhost:27019/?replicaSet=rs0" Enter the
drupaldatabase and view the collections.Run the following commands in your
mongoshterminal:use drupal show collections Drupal creates multiple collections to store different types of content, including the following:
node: Stores content nodesusers: Stores user accountsconfig: Stores configuration data
View your article data.
To view information about your article, run the following command in your
mongoshterminal:db.node.find().pretty() [ { _id: ObjectId('...'), nid: 1, vid: 1, type: 'article', uuid: '...', langcode: 'en', node_all_revisions: [ { ... } ], node_current_revision: [ { ... } ], node_latest_revision: [ { ... title: 'Welcome to My Drupal Site', created: ..., changed: ..., promote: true, sticky: false, default_langcode: true, revision_default: true, revision_translation_affected: true, node_latest_revision__body: [ { bundle: 'article', deleted: false, langcode: 'en', entity_id: 1, revision_id: 1, delta: 0, body_value: '<p>This is my first article on Drupal with MongoDB!<br>All content is stored as JSON documents in MongoDB.</p>', body_summary: '', body_format: 'basic_html' } ], node_latest_revision__comment: [ { bundle: 'article', deleted: false, langcode: 'en', comment_status: 2, entity_id: 1, revision_id: 1, delta: 0 } ] } ] } ] This command returns a JSON document that contains your article text and metadata.
Congratulations on completing the Drupal Quick Start tutorial!
After you complete these steps, you have a Drupal CMS that connects to your local MongoDB replica set and stores content as JSON documents.
Additional Resources
To learn more about Drupal and MongoDB, view the following resources:
How to Run Drupal on MongoDB DEV tutorial with full production configuration
MongoDB module on the Drupal website
Drupal documentation